
Unlocking Nostalgia: Crafting Your Own Arcade Cabinet or Total Insanity
Remember the thrill of standing in front of an arcade machine, quarters or tokens in hand, ready to conquer pixelated worlds? Recreate that magic by building your very own arcade cabinet!
In this guide, we’ll delve into the art of crafting a retro gaming haven—a tangible time machine that transports you back to the golden age of arcades. From design considerations to button layouts, let’s embark on this exciting journey of DIY madness.
This whole thing started many years ago for me. I first purchased an arcade cabinet from a flea market at the age of twelve. I saw the price tag of $200 on the cabinet. That was not going to happen, especially since it was 1985. I nervously waited until the end of day, and I asked them if they really wanted to load it back onto their truck and take it home. I offered 50 bucks – my entire earnings for the day. I was the proud owner of a Frogger upright cabinet.
Many cabinets, pins, and years later, I’ve decided to build yet another arcade cab. This one is going to be a ridiculous build, just because I can. In the past I would render things in CAD, and get everything perfect. However, we don’t all have CAD applications or the knowledge to do that, so I am just going to do this whole thing off the cuff.
“Holy shit, you’re doing what?”
–Cass Alex
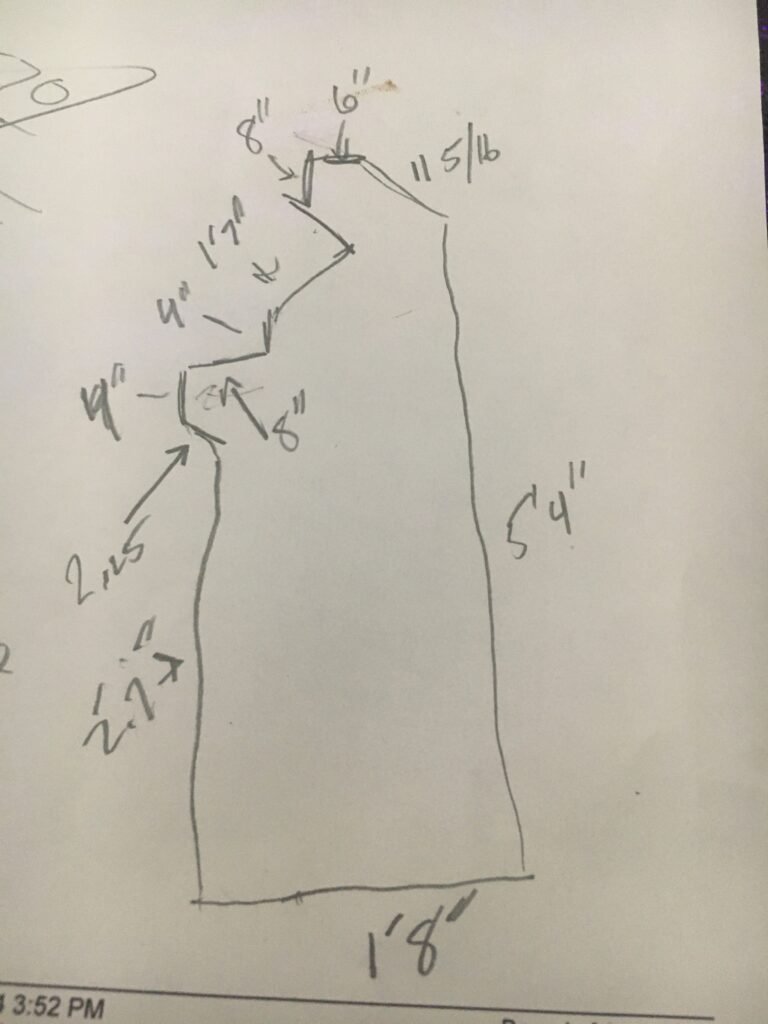
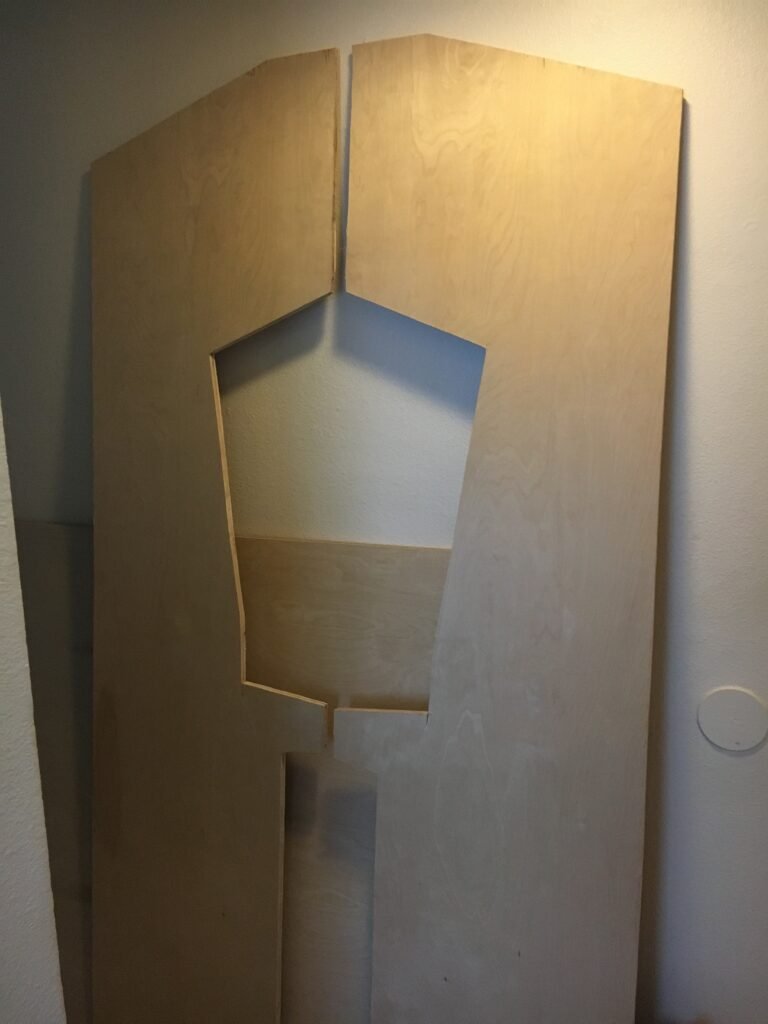
This was my original mock-up that I did based off of Deez online (https://forum.arcadecontrols.com/index.php/topic,146268.0.html). You can see how accurate everything is. Just perfect. It doesn’t matter in the end, I decided to go big and bad in this cab. Let’s take a look at the materials and see how this radically changed.
Author’s Note:
I’ve chosen to use the Imperial measurement system (inches, feet) throughout this article, as that is what is standard locally where I live. I apologize to the vast majority of the world’s population that uses the metric system. Please feel free to convert measurements as needed for your region.
Building My Arcade Cabinet: A Step-by-Step Journey
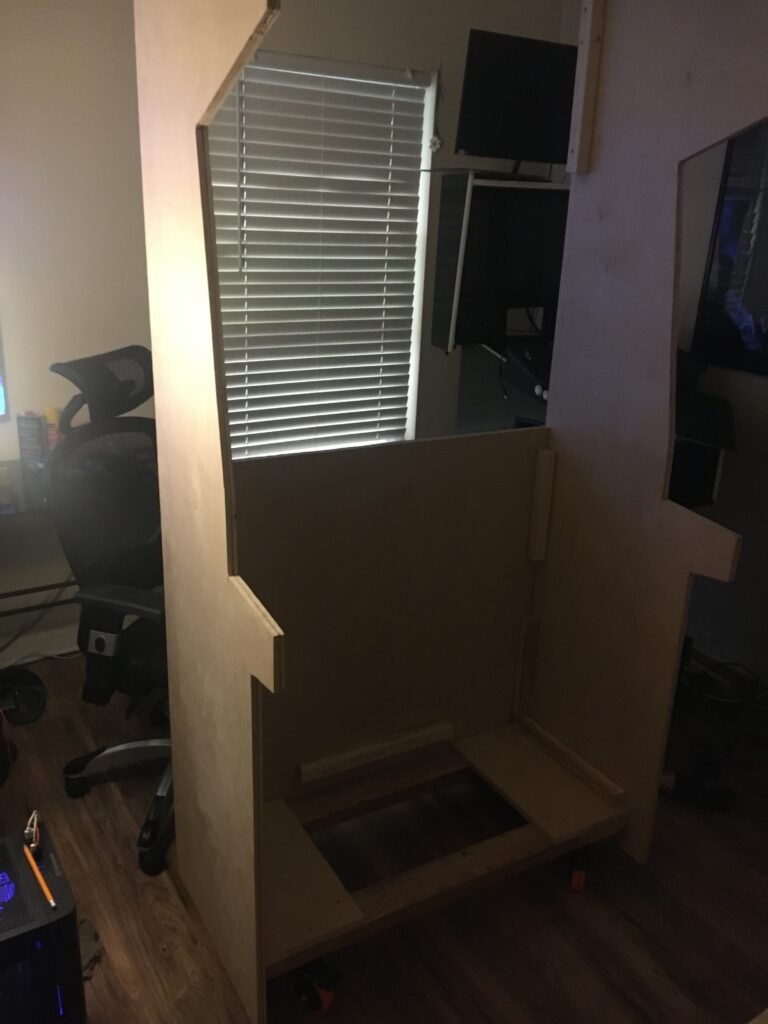
I started my project with two 4ft x 8ft sheets of 3/4-inch plywood, which I knew would give me plenty of material to work with. The cabinet I envisioned would be roughly two feet deep and just over seven feet tall, with the sides cut from a single sheet of plywood for simplicity and strength.
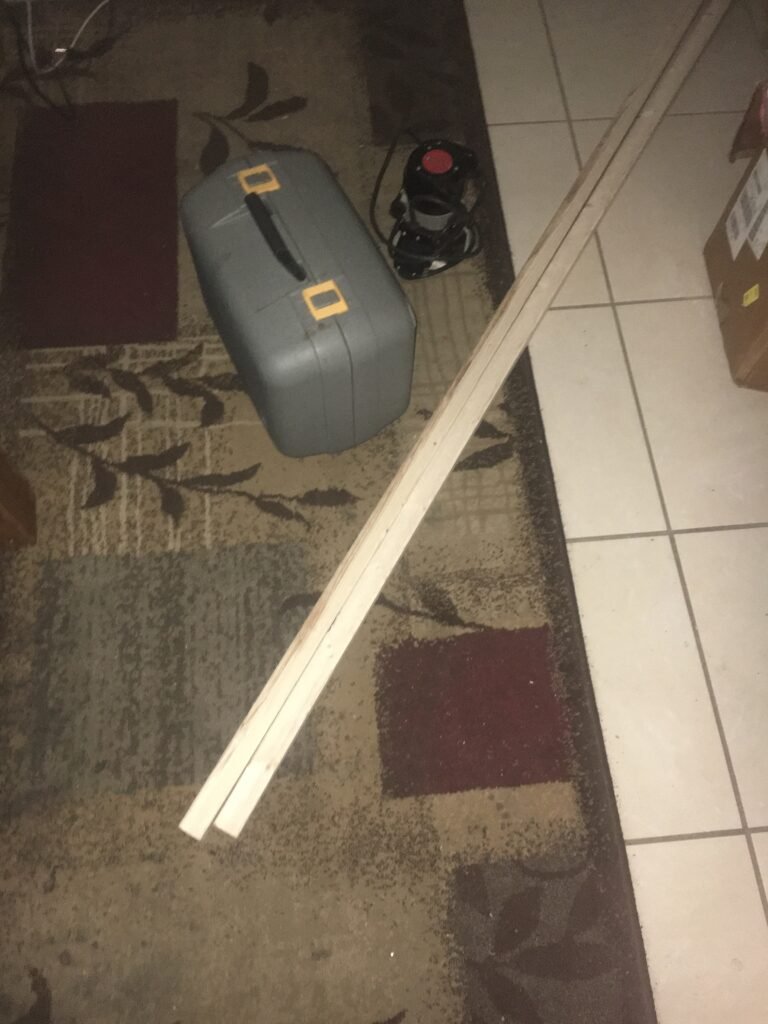
After some shopping around, I found a good deal at Home Depot and purchased two sheets of sanded birch plywood—my preferred choice over MDF due to its durability and finish. I also picked up some 1x4s and 1x1s (both 8ft long) for cross braces and internal blocking. Additionally, I knew I would need a sturdy base, so I bought a pressure-treated 2×4 for that purpose.
Planning the Layout
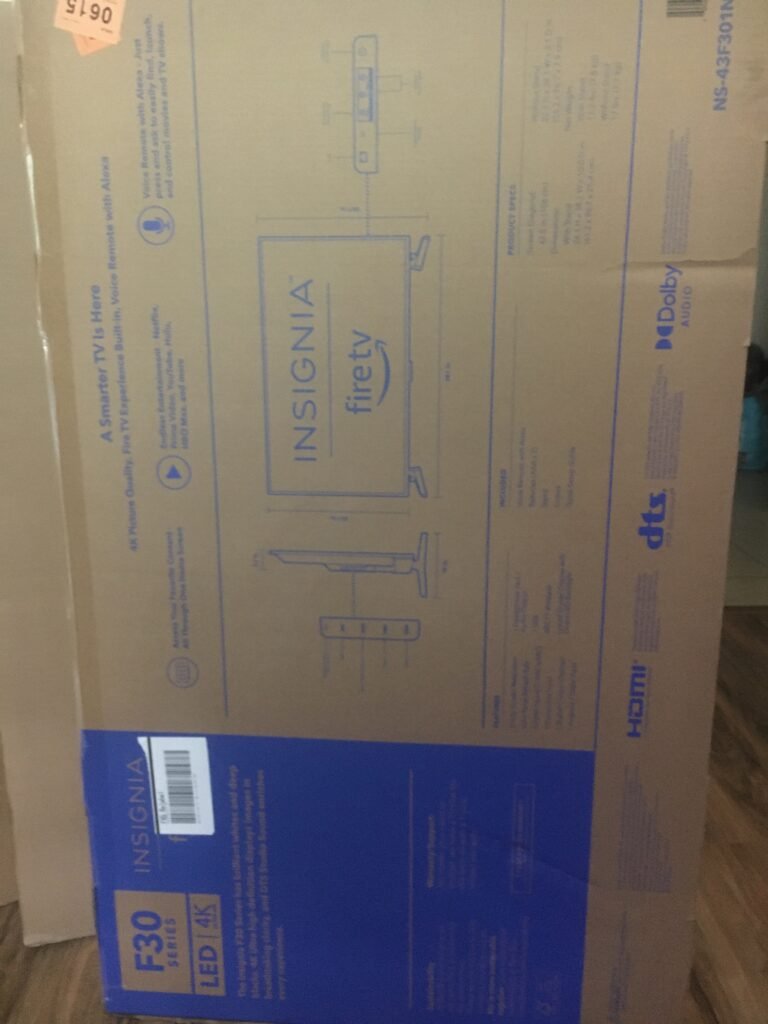
To determine the optimal width for the cabinet, I decided to start by selecting the main monitor. My goal was to support 4K resolution, so I looked for a large display that would fit comfortably inside the cabinet. I found a great deal on an Insignia 43-inch Smart TV from Amazon, which provided ample screen real estate for both the main display and a secondary monitor for the marquee.
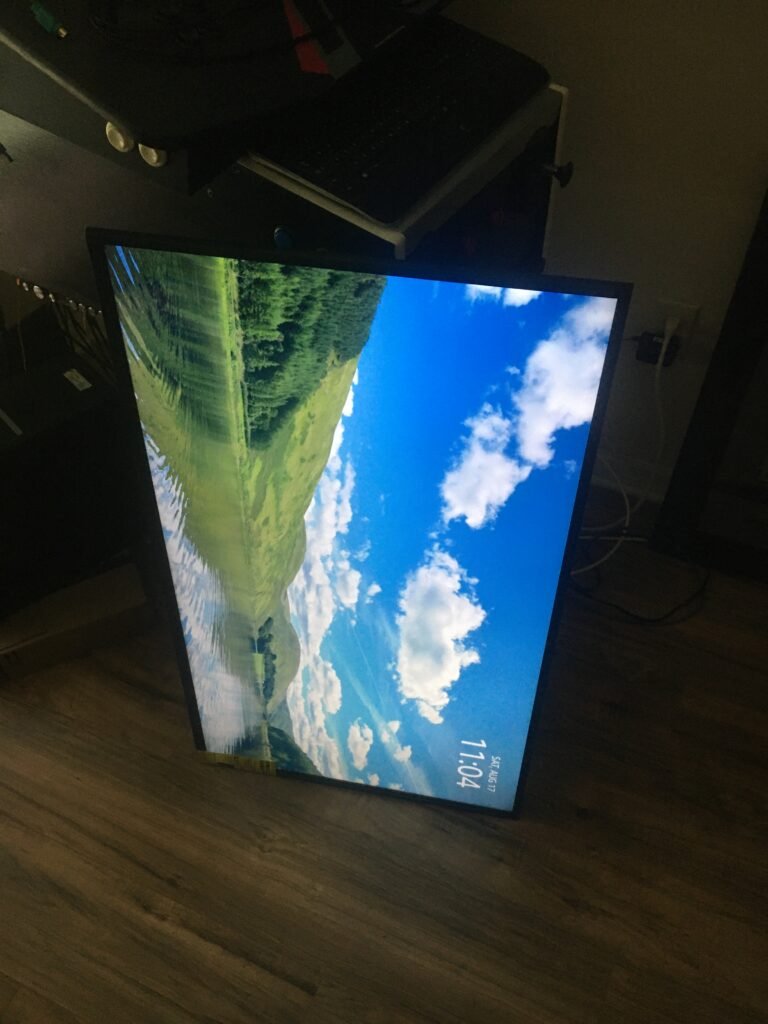
I measured the TV and added about an inch to the inside width to accommodate the frame and support structure. The inside width of 36 inches was perfect, as I could purchase 4ft lengths of plywood and trim them down, leaving enough room for the internal supports and mounting brackets. The height of the screen lined up well with my plans, making the design process smoother.
While shopping, I also grabbed four-inch floor cart wheels from Amazon, which would make moving the finished cabinet much easier.

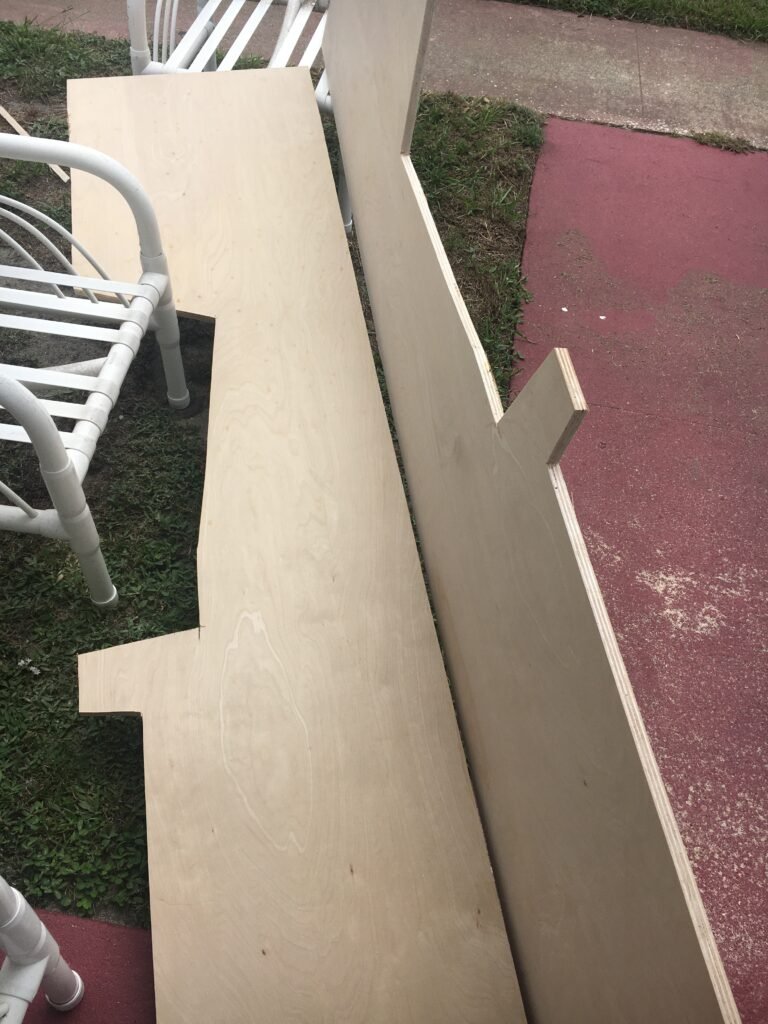
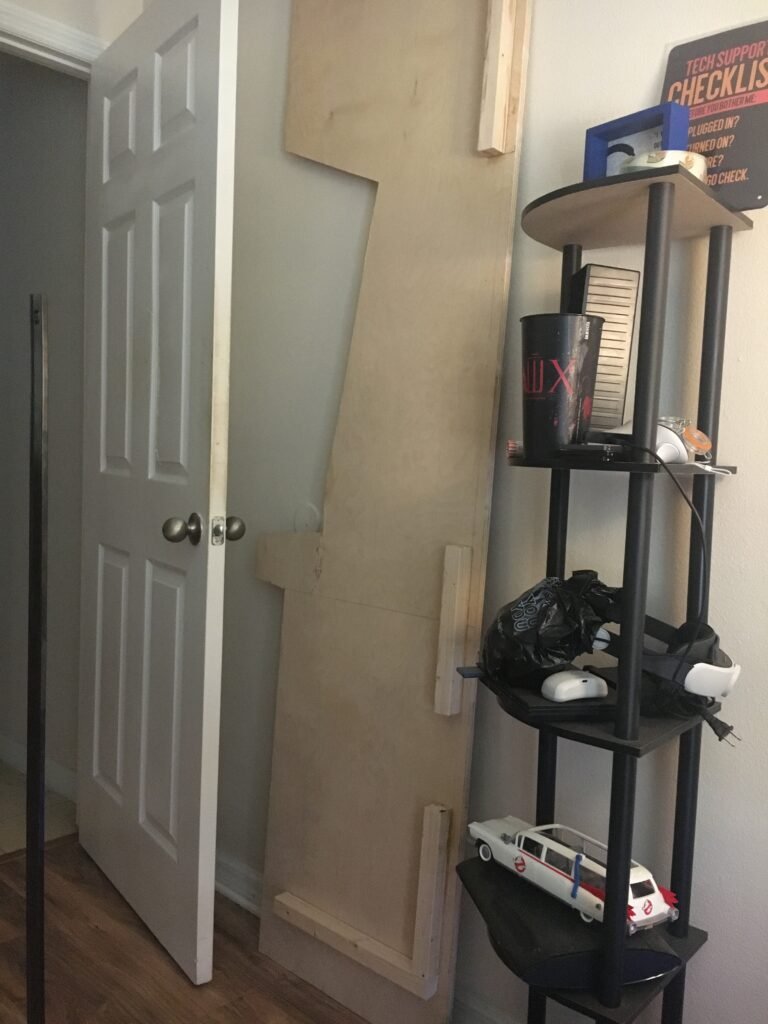
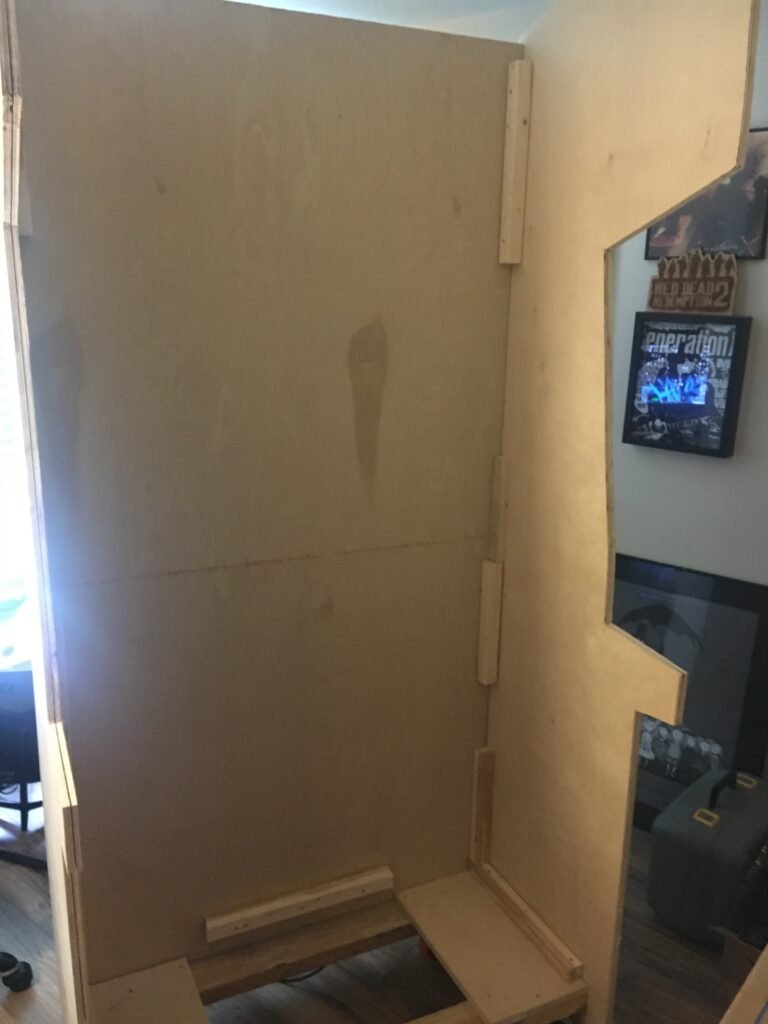
Cutting and Assembling the Sides
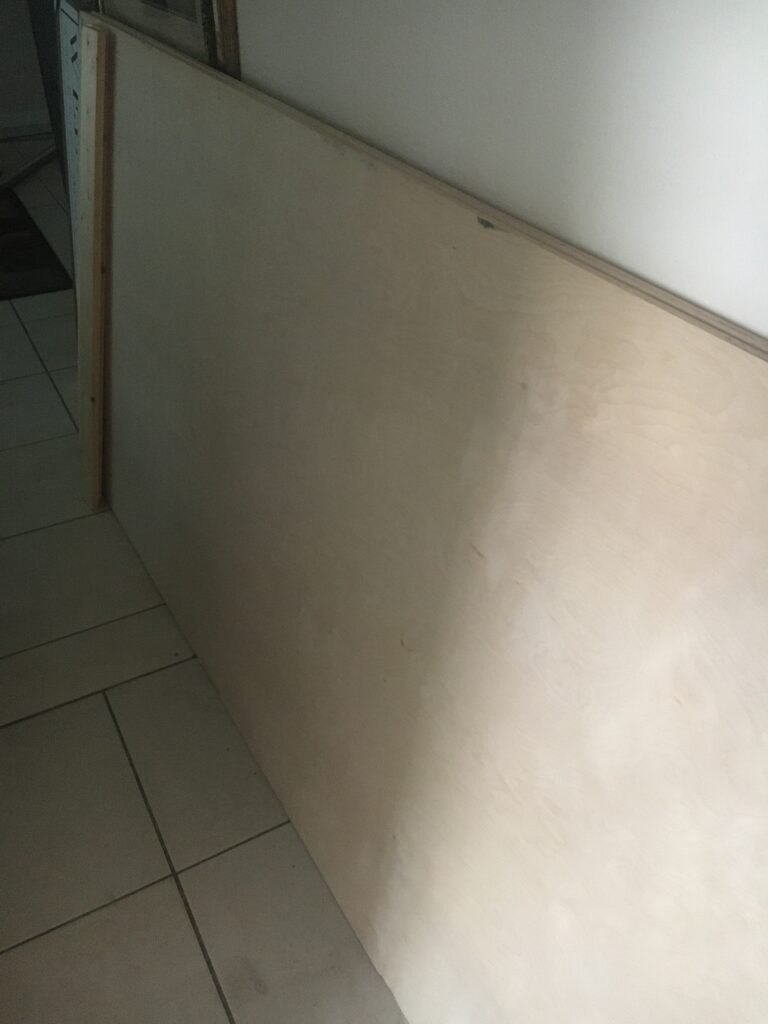
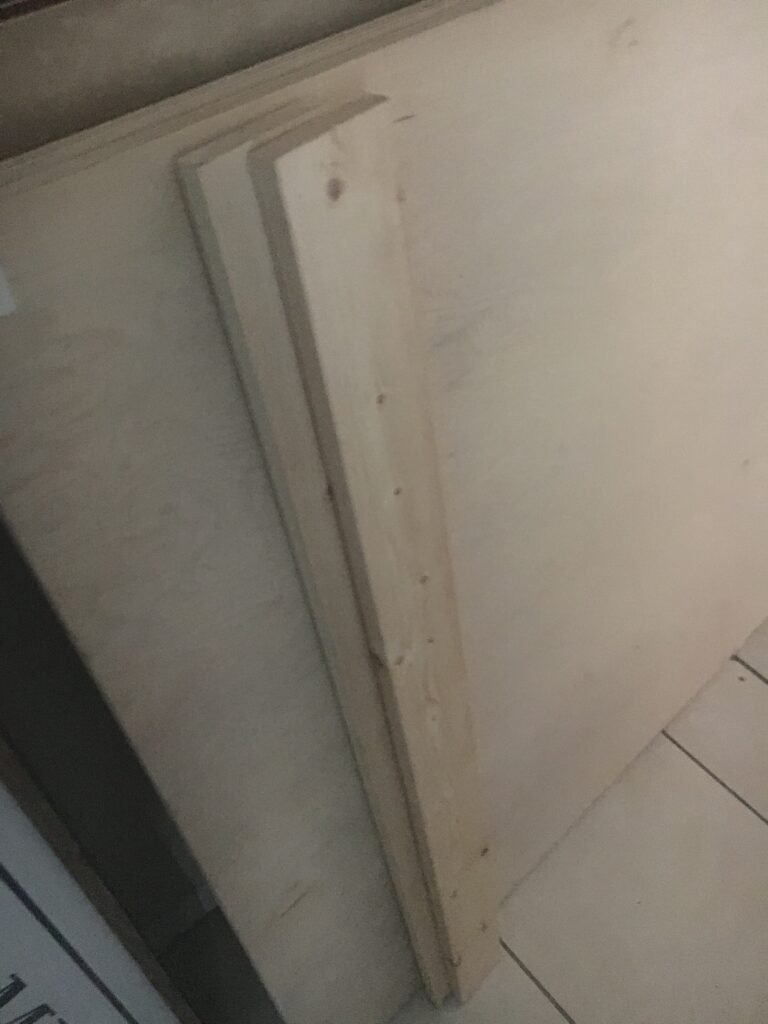
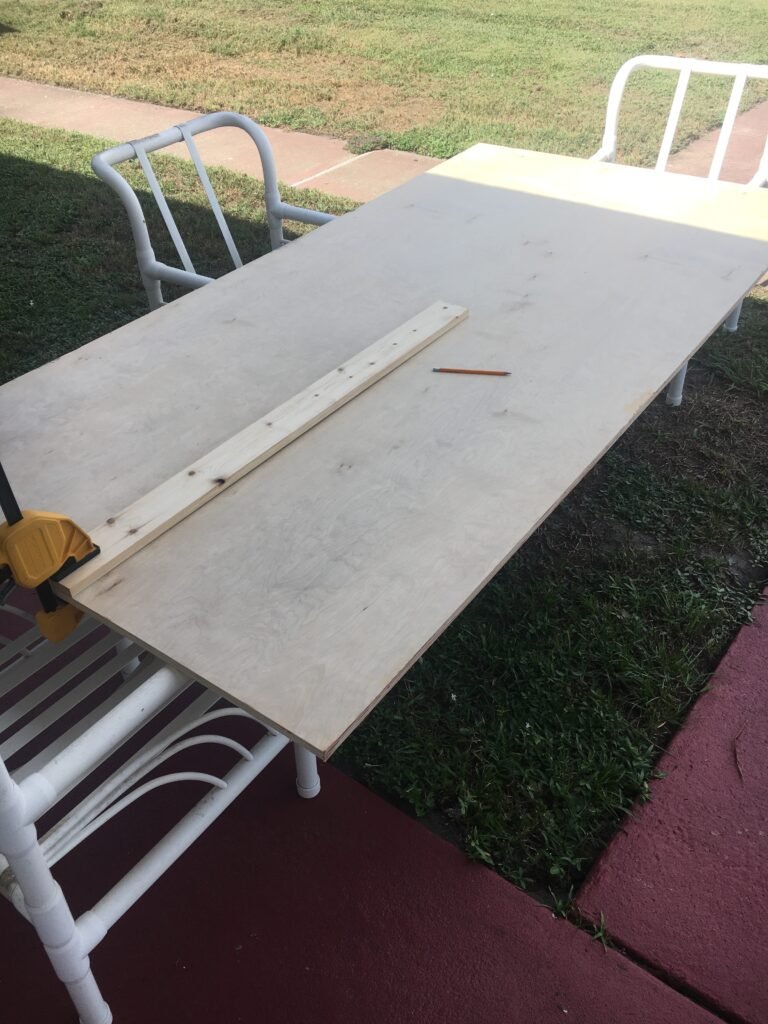
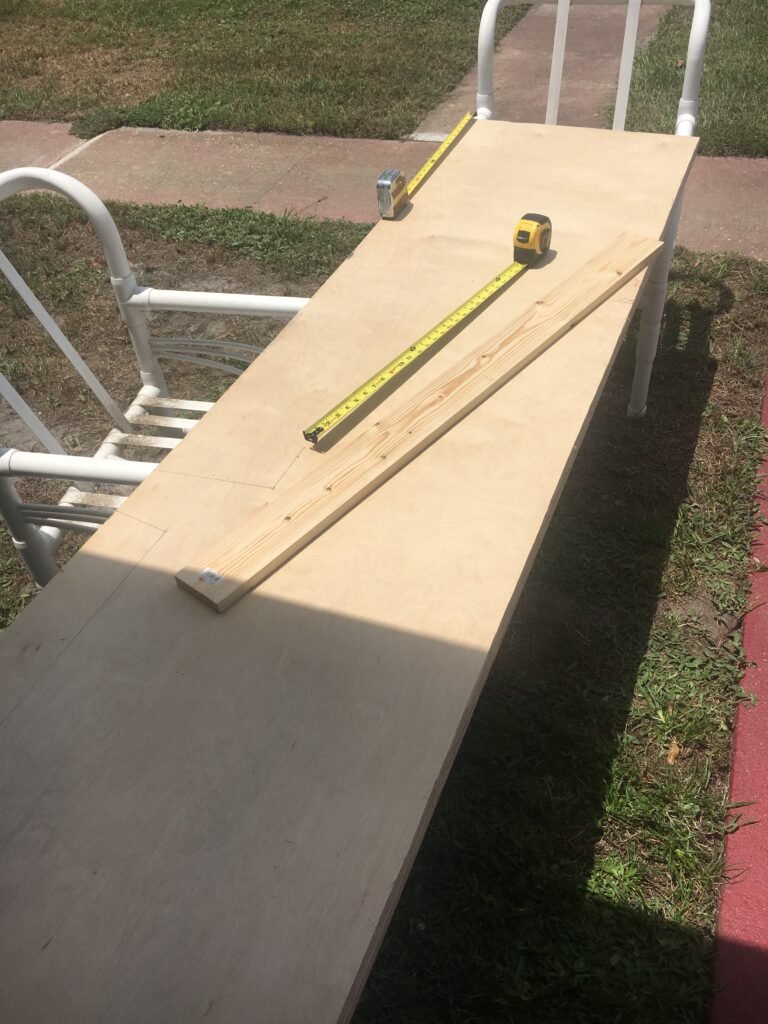
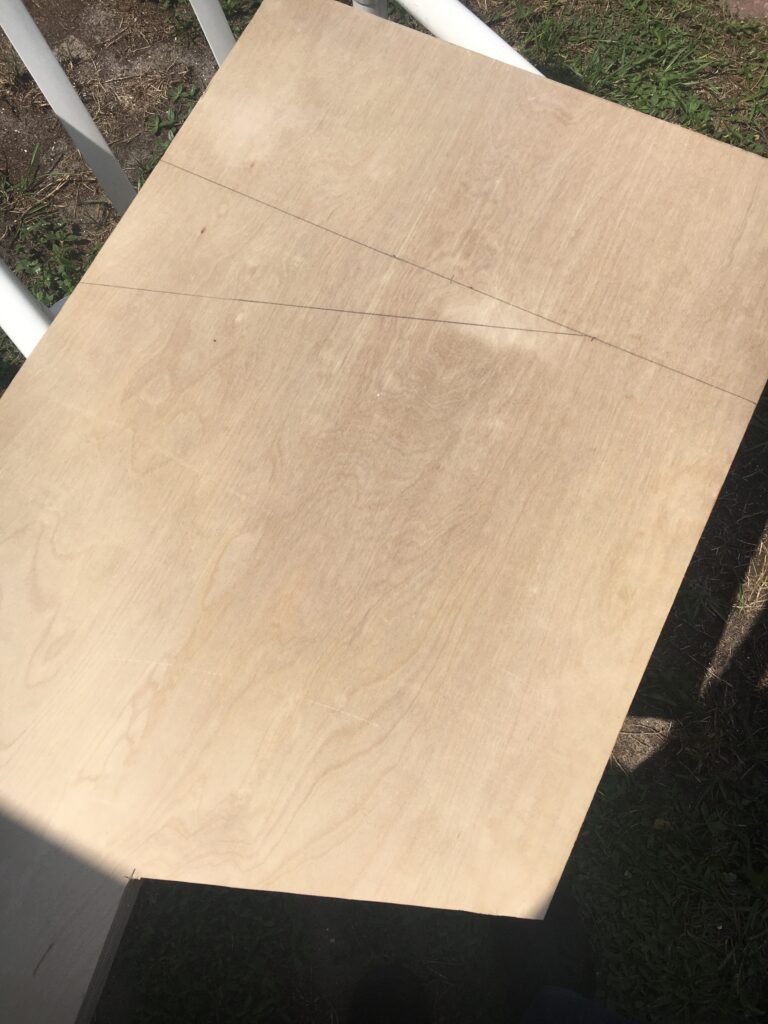
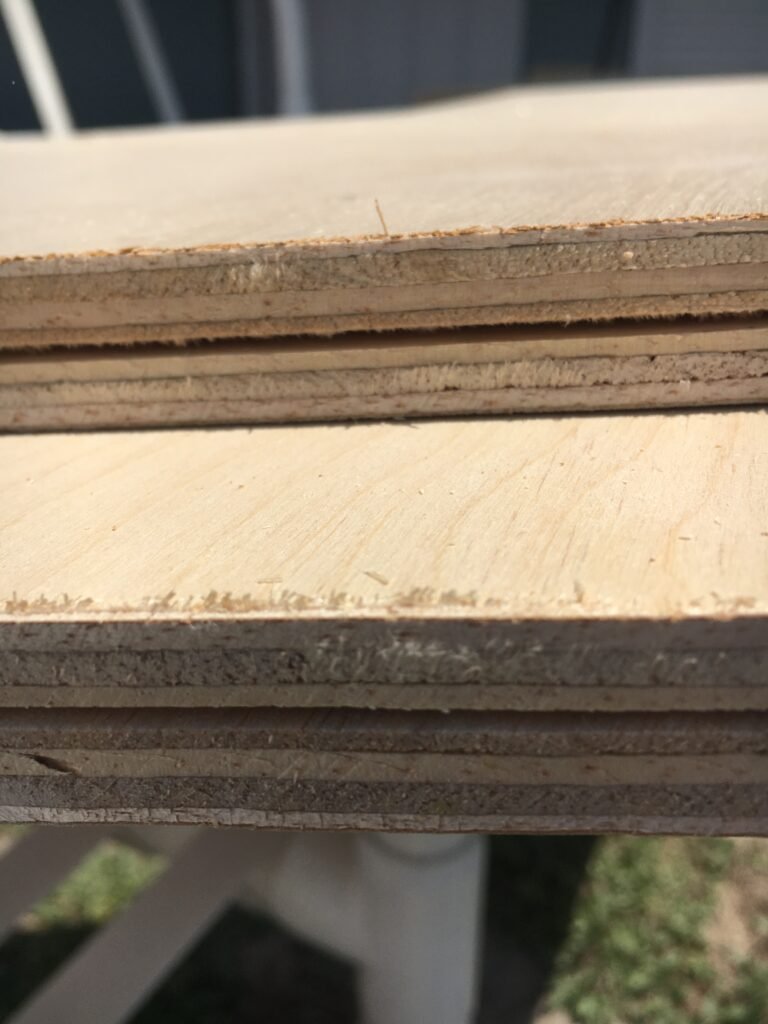
With my drawings in hand, I headed outside to mark and cut the side panels. I improvised with chairs from my patio as sawhorses. I ripped each 4×8 sheet in half along the length using a circular saw, then measured and marked the dimensions based on my plan. To ensure clean, identical edges, I stacked the panels and cut them simultaneously. Although I knew I’d need to trim or sand to perfect the edges later, this approach was efficient for rough cuts.
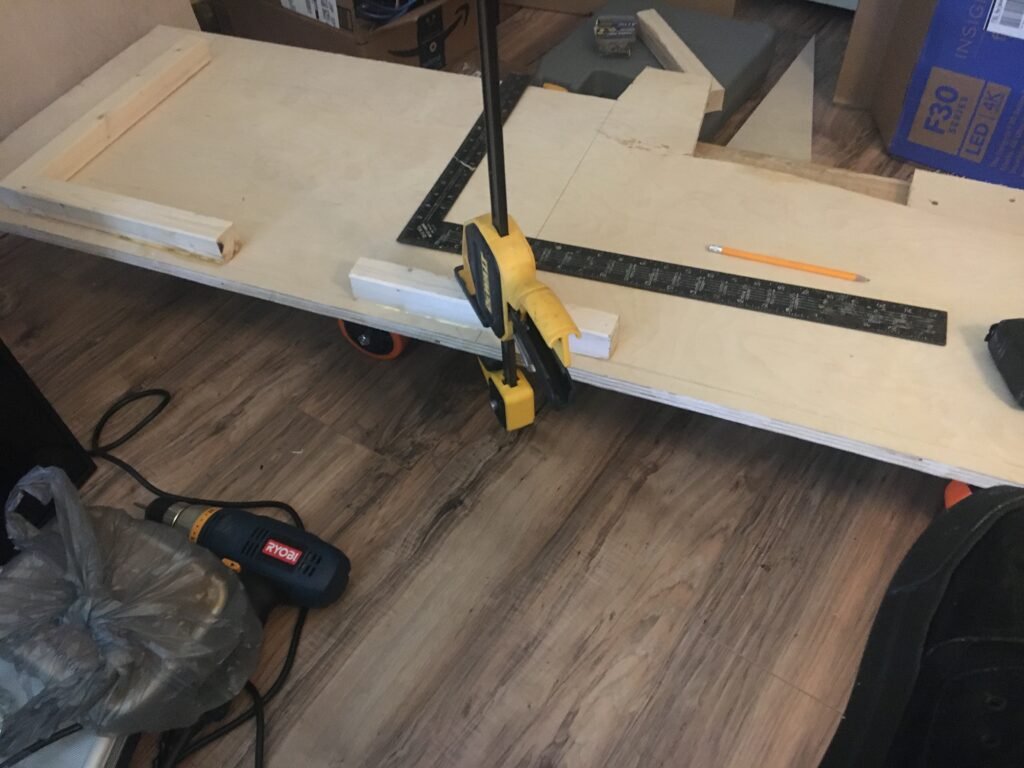
Smoothing Things Out
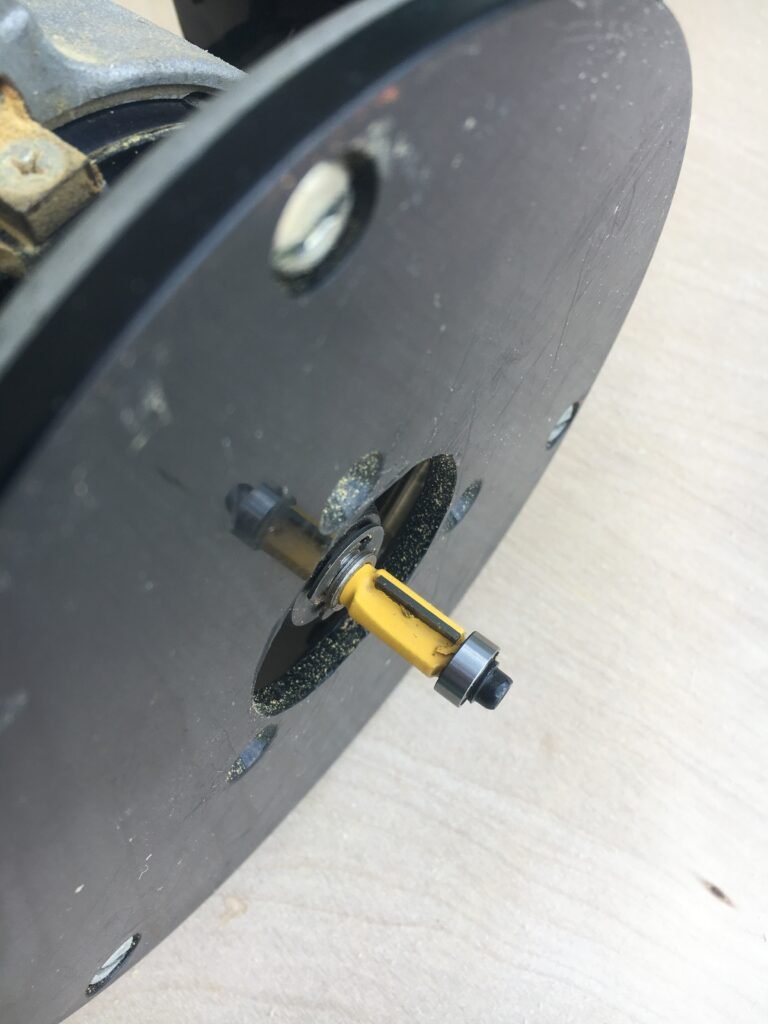
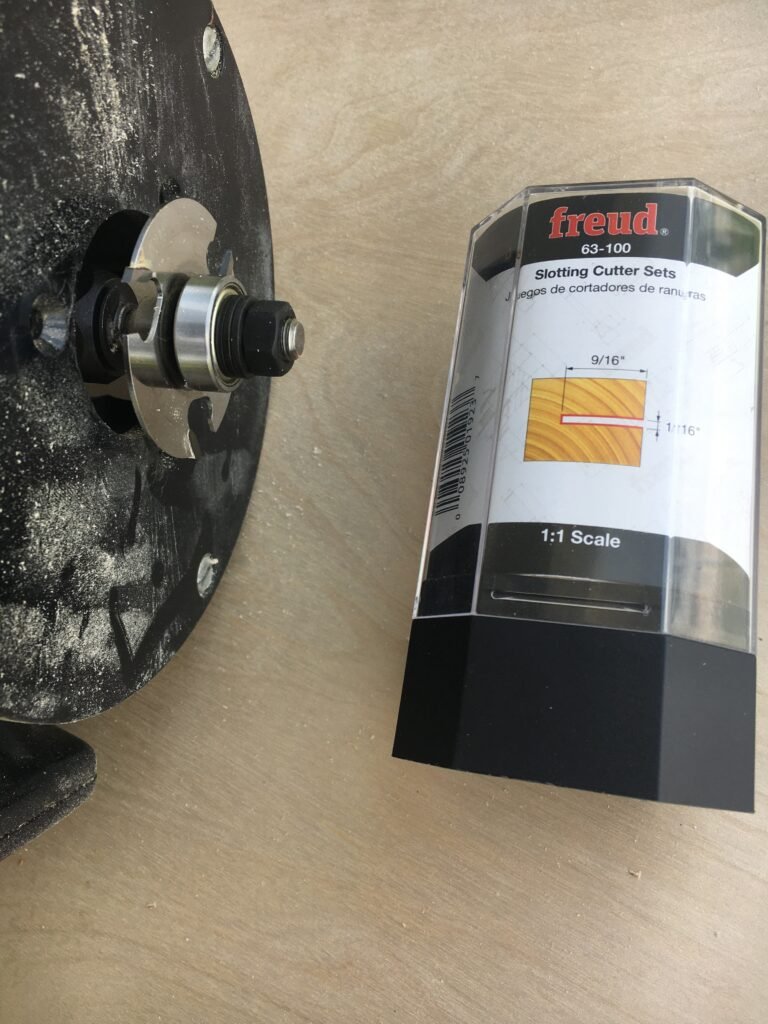
Using a borrowed router, I trimmed the edges of the side panels to achieve a smooth, uniform finish. I also switched to a bit suitable for applying edging trim, which I planned to add for aesthetic and protective purposes.


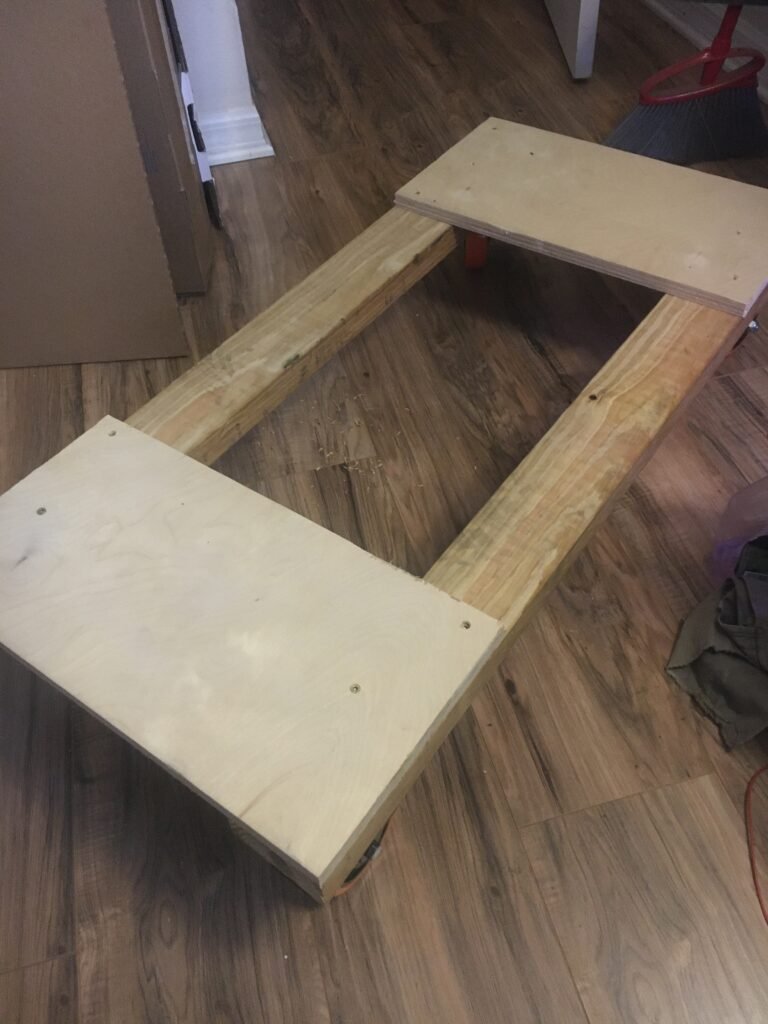
Building the Base
Next, I constructed a sturdy base for the cabinet. I cut two 36-inch lengths of 2×4 pine for the sides and 18-inch pieces of plywood for the cross supports. Screwing these together resulted in a stable, heavy platform. Once my wheels arrived, I attached them to the base, transforming it into a mobile cart—especially handy during assembly and testing.
To prepare for mounting the cabinet, I glued and screwed blocking inside the bottom and rear perimeter, about 3/4 inch inward, to secure the structure and facilitate mounting of internal components.

Sourcing Additional Materials
I then ordered two half-sheet (4×4 ft) panels of light birch plywood, which arrived surprisingly cheaply and quickly. I picked up more blocking, screws, and wood glue from my local store to continue construction.
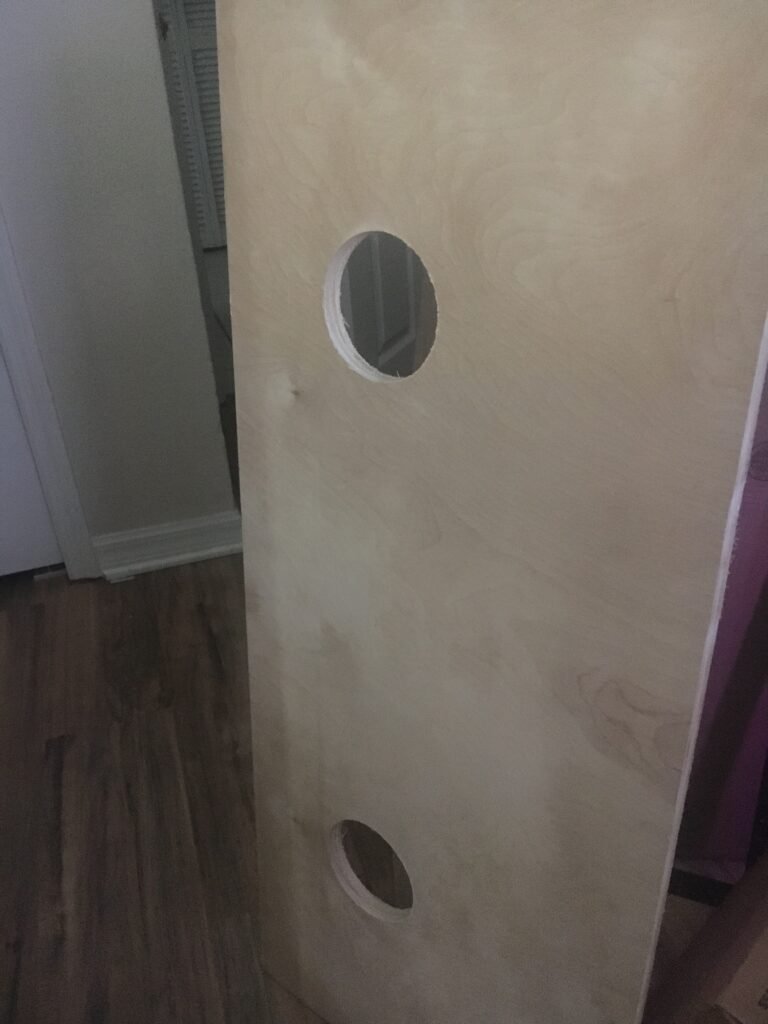
To add a speaker assembly, I repurposed 5 inch speakers from an old pinball machine. I cut the plywood to fit the speaker area, found the center, and drilled holes using a hole saw.
In the end, I think it came out great, and the speakers fit perfectly.
The End of Part One
Coming up next, we have the control panel layout and design, as well as its construction and assembly to a full build. Make sure to check out part two of this article soon. I’ll be sure to add a link from here! See you soon, happy building!